Manage users in a workspace
💡Why should I learn this? Users need to be added to a workspace in Hireguide to be involved with any aspect of the interview process (e.g., create question guides, manage recording and transcription, host interviews, evaluate candidates, etc.).
IN THIS ARTICLE
Learn by watching this video or read the instructions below.
Add users to a workspace
Your users are managed in your Workspace Settings page in Hireguide. To add a user:
- Click Settings > Workspace at the bottom of the Navigation Panel on the left side of your screen
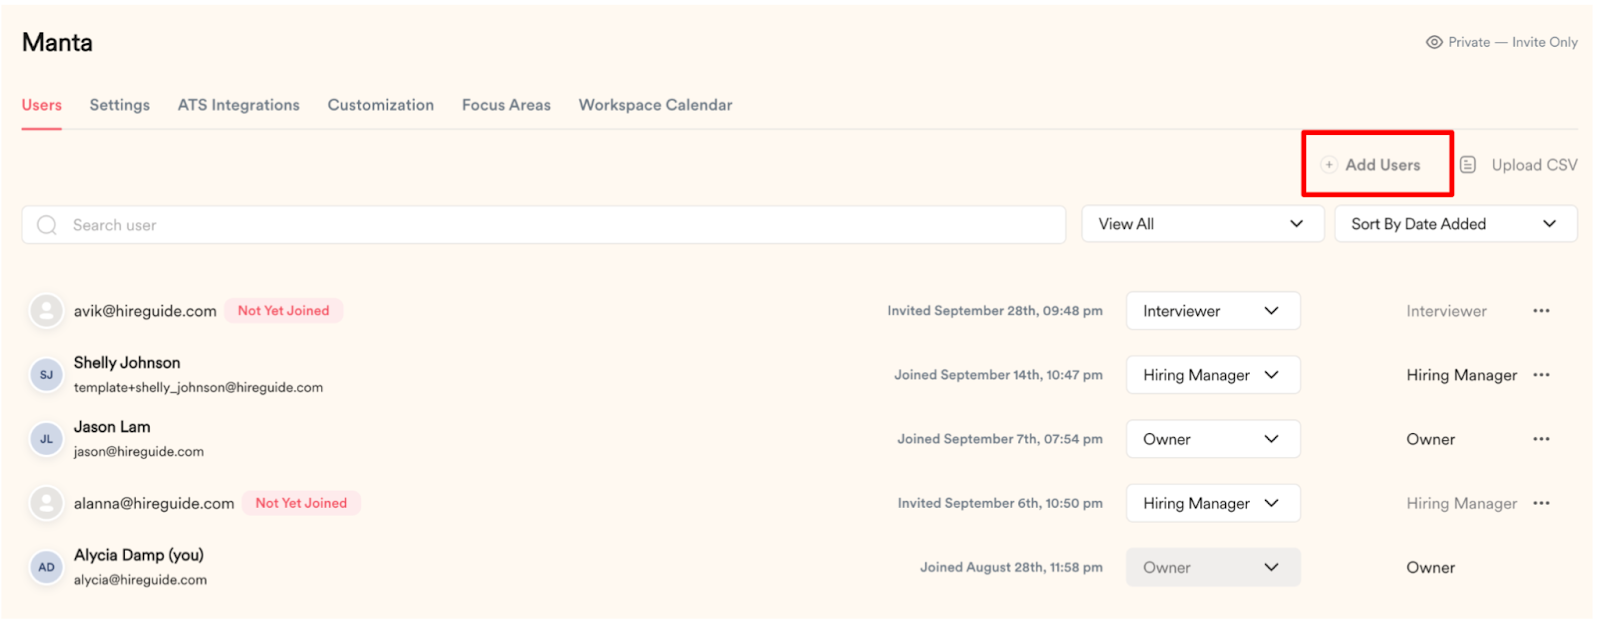
You will see a number of settings tabs across the top of the screen. The default tab is set to Users. To add a user:
- Click the + Add User button as seen in the screenshot below
Type in the email address for the individuals you’d like to add, and specify their role in the workspace.
- Click Save
They will receive an email invitation to join your workspace.
Change a user’s role permissions in a workspace
Access the Users tab in the workspace settings as described above.
To change a user’s role, simply find their name in the user list, and make the desired change with the dropdown menu in their row that contains their role status (see screenshot above).
Deactivate a user in a workspace
Access the Users tab in the workspace settings as described above.
To deactivate a user, find their name in the user list and access their overflow menu:
- Click the three dots in the corresponding user row
- Click Deactivate
They will no longer have access to the workspace.